Getting Started
This guide will help you set up WebXTerm and connect to your first machine.
Prerequisites
Before you begin, ensure you have:
- An active WebXTerm account
- At least one server/machine you want to connect to
- Admin access to your organization (for initial setup)
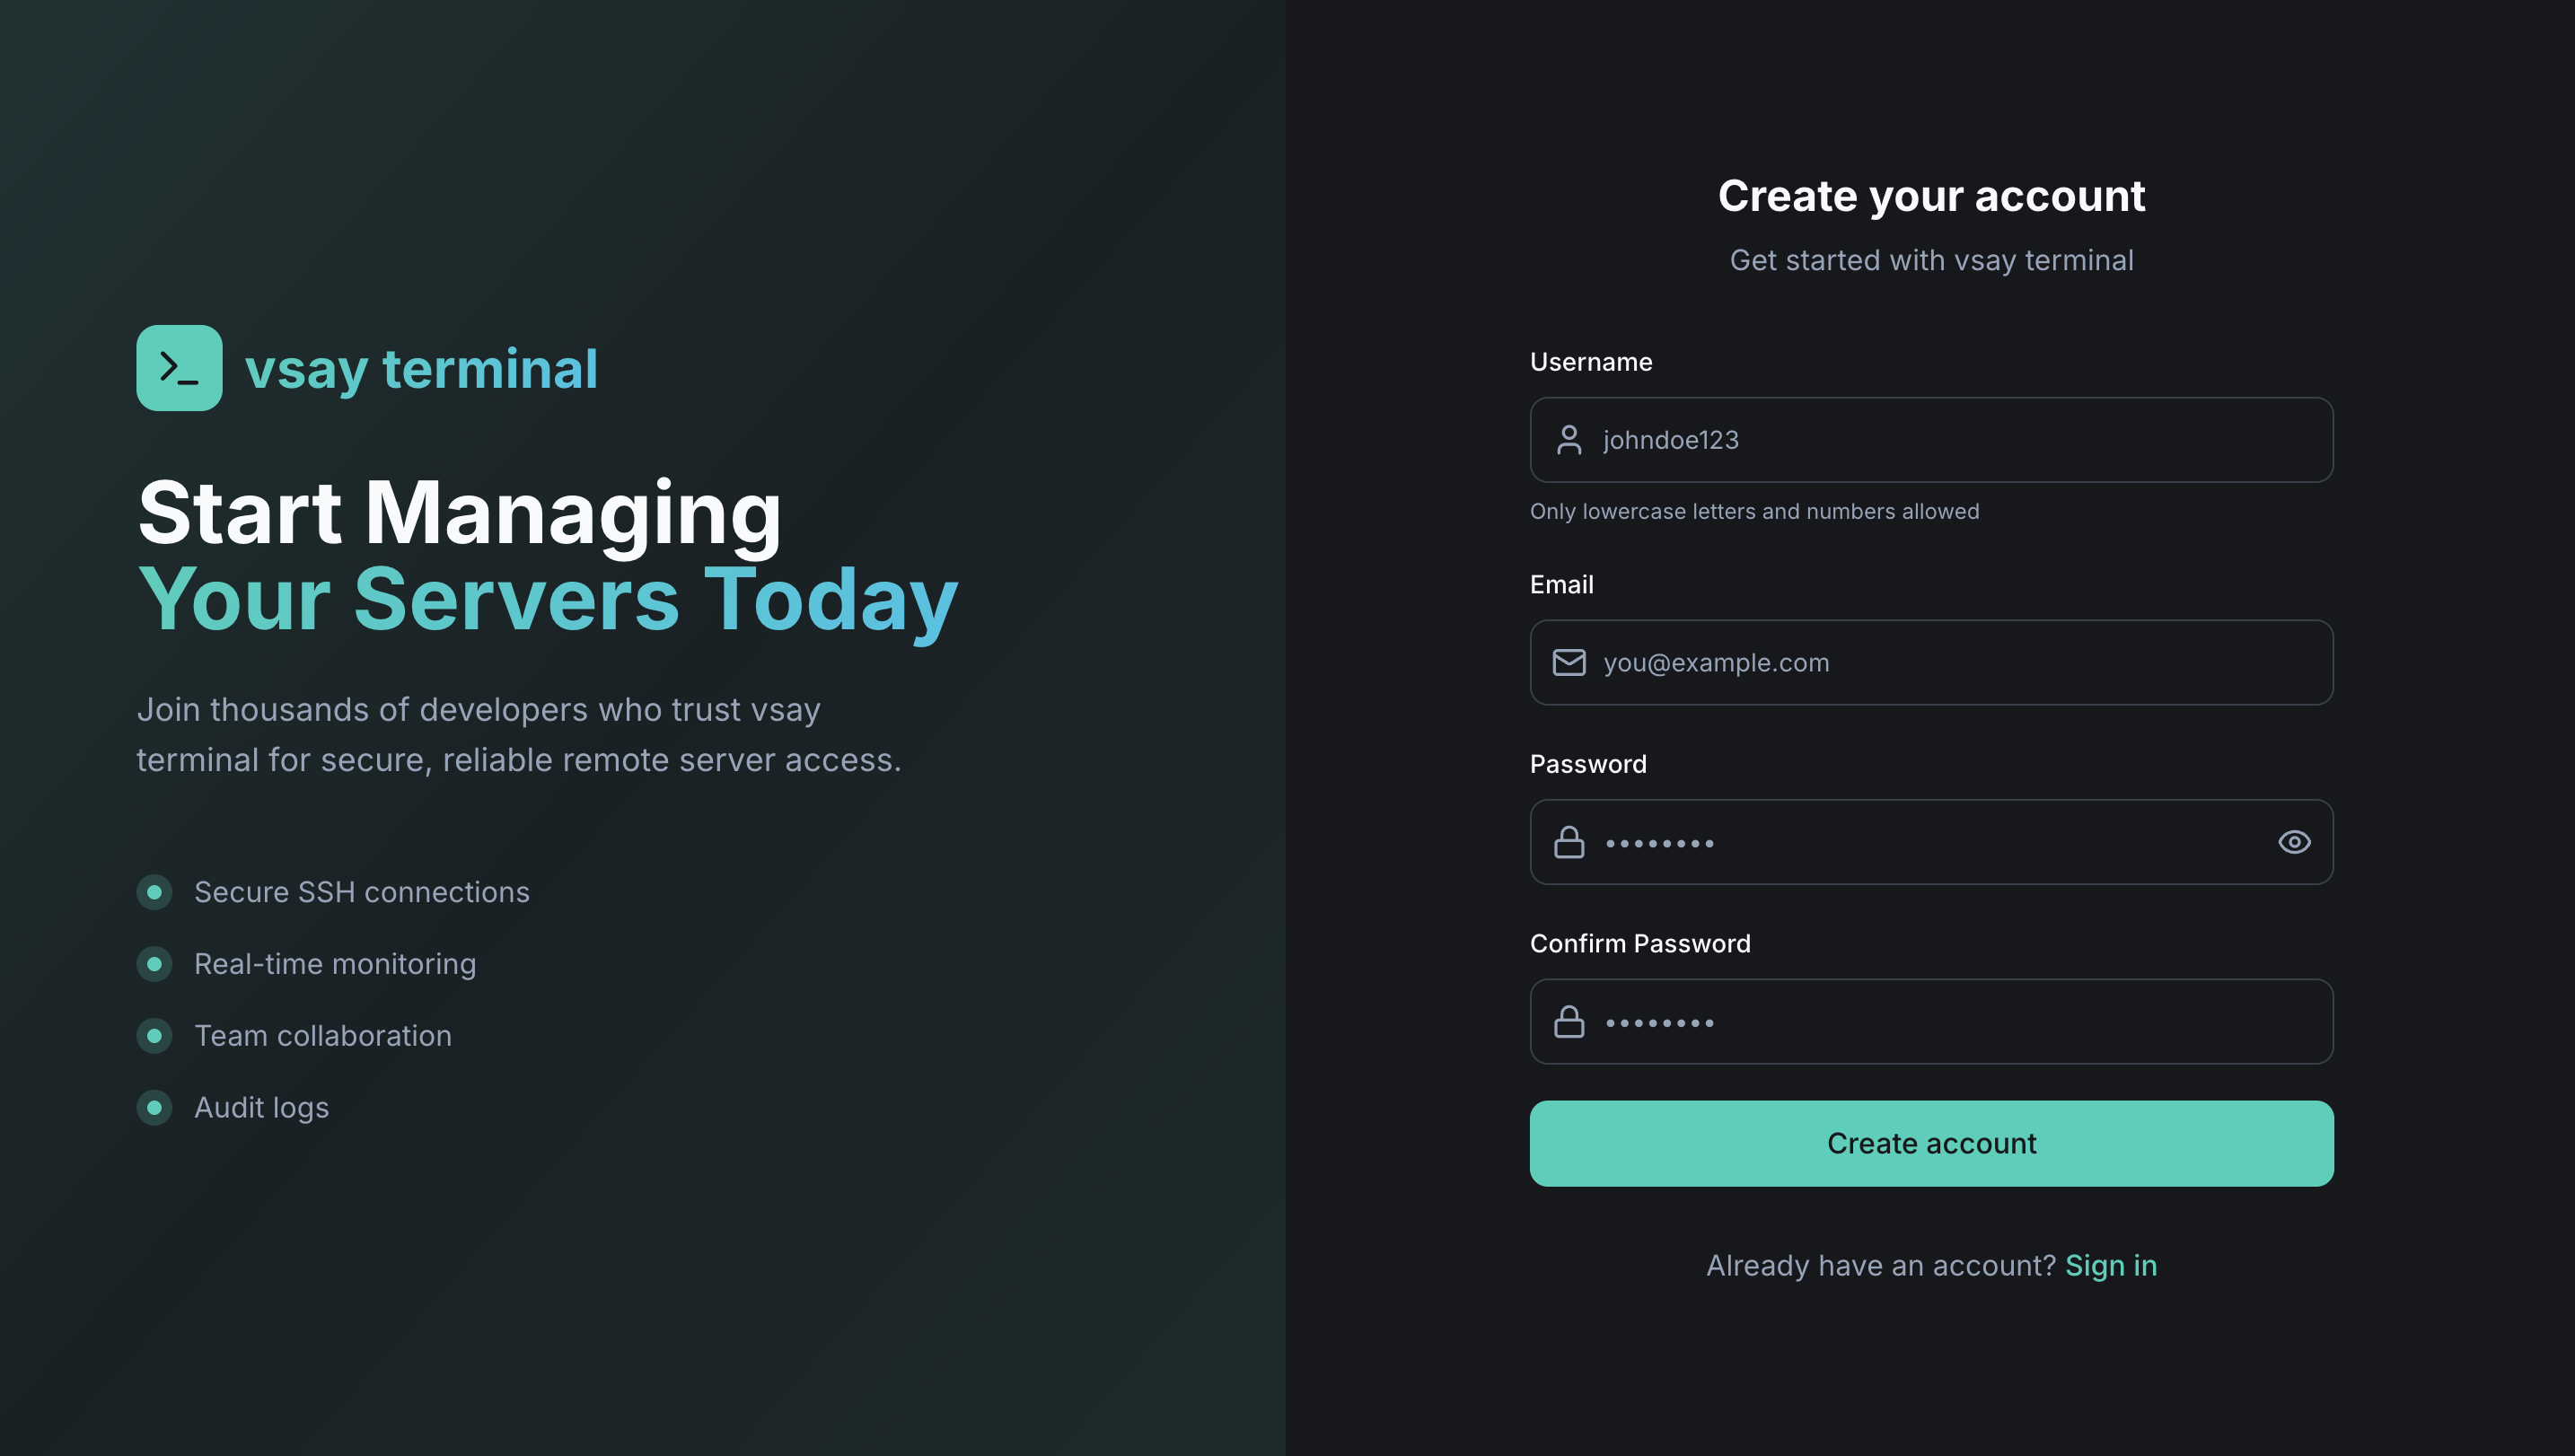
Step 1: Sign Up or Login
Using OIDC/OAuth2 Login (Enterprise)
If your organization has configured an external identity provider (Okta, Microsoft, GitHub, Azure AD):
- Navigate to the WebXTerm login page
- Click "Sign in with [Provider]"
- Complete the authentication flow with your identity provider
- You'll be redirected to your dashboard
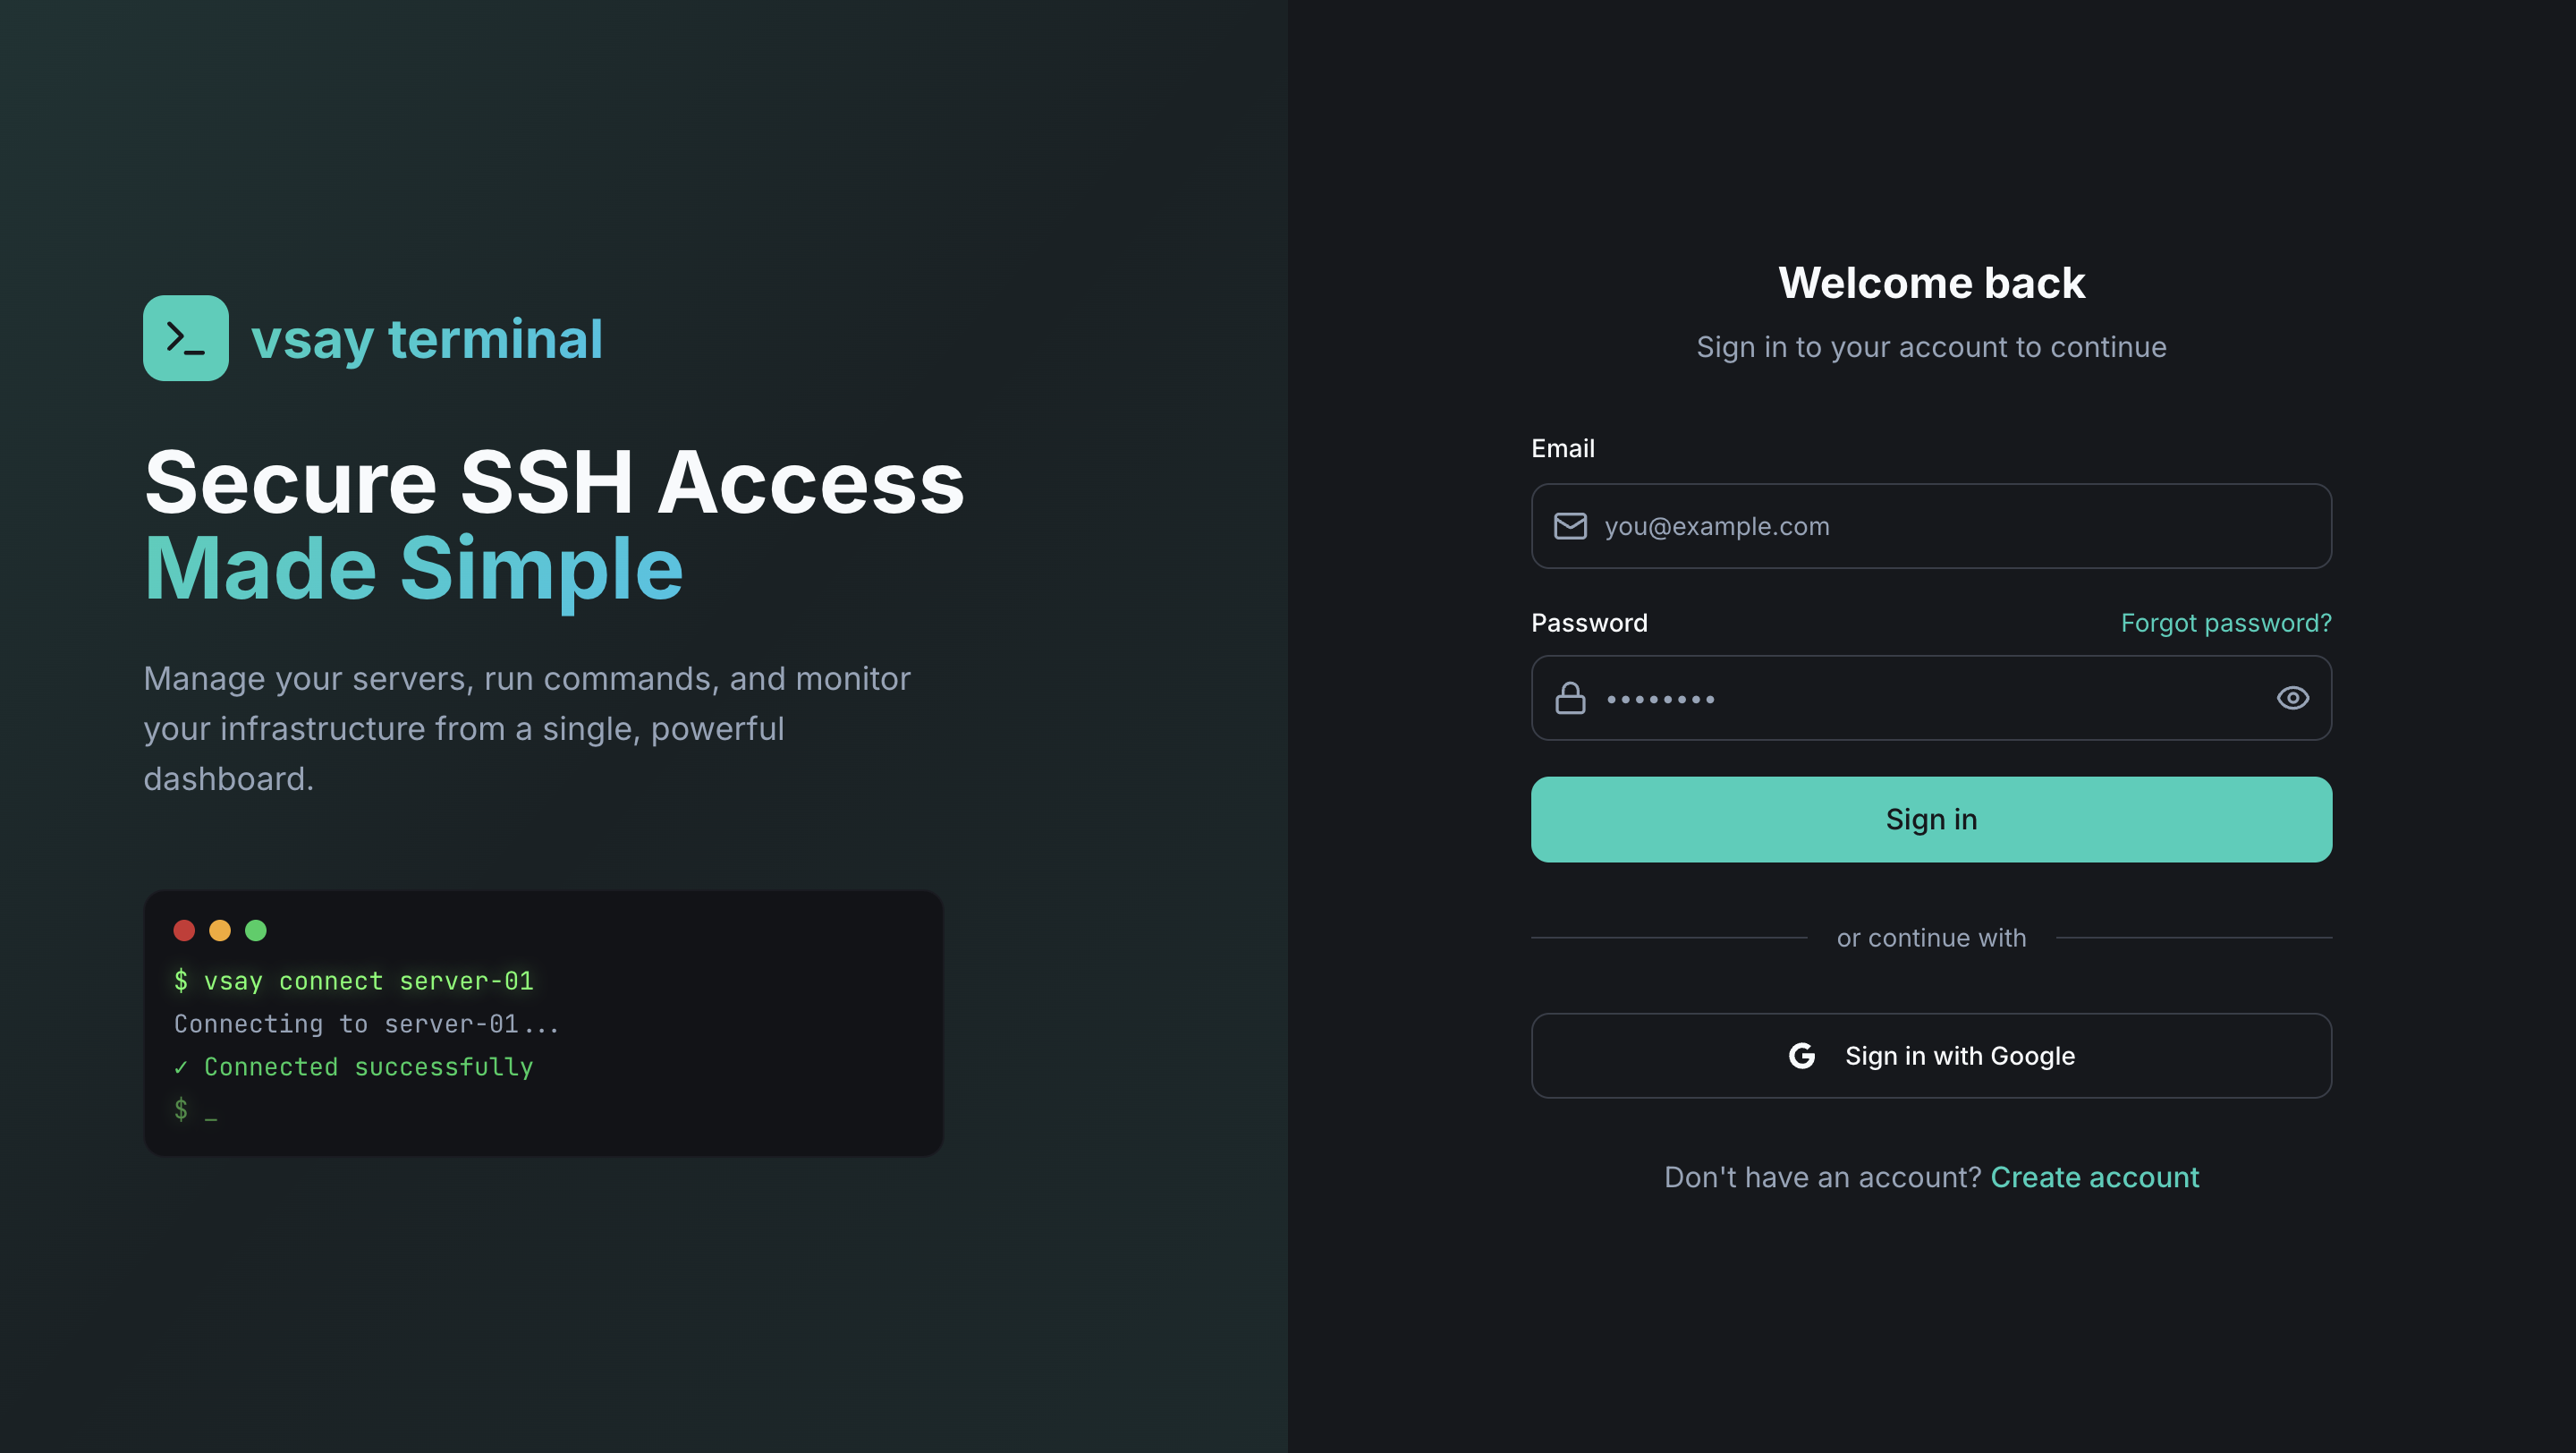
Using Email/Password (Keycloak)
- Navigate to the login page
- Enter your email and password
- Click "Sign In"
Email/password login is managed by Keycloak in Enterprise editions. Community Edition uses its own built-in auth.
Step 2: Get Your API Key
After signing in, navigate to your Profile page to find your API Key. You'll need this to register the WebXTerm Agent on your machines.
- Go to Profile in the top-right menu
- Copy your API Key — this is what authenticates the agent with your account
If your API key is ever compromised, you can regenerate it from the Profile page. Note that regenerating it will disconnect all agents using the old key.
Step 3: Install & Register the Agent on Your Machine
WebXTerm works by installing a lightweight agent (vsay-agent) on the machine you want to access. The agent connects back to the WebXTerm backend over gRPC — no inbound firewall rules required.
Install the Agent
Download and install vsay-agent on your machine. Choose the package for your operating system and architecture:
- Linux (amd64)
- Linux (arm64)
- macOS (Intel)
- macOS (Apple Silicon)
- Windows
curl -LO https://releases.vsayterminal.com/vsay-agent/latest/vsay-agent-linux-amd64.tar.gz
tar -xzf vsay-agent-linux-amd64.tar.gz
sudo mv vsay-agent /usr/local/bin/
Or via DEB package (Debian/Ubuntu):
sudo dpkg -i vsay-agent_amd64.deb
curl -LO https://releases.vsayterminal.com/vsay-agent/latest/vsay-agent-linux-arm64.tar.gz
tar -xzf vsay-agent-linux-arm64.tar.gz
sudo mv vsay-agent /usr/local/bin/
curl -LO https://releases.vsayterminal.com/vsay-agent/latest/vsay-agent-darwin-amd64.tar.gz
tar -xzf vsay-agent-darwin-amd64.tar.gz
sudo mv vsay-agent /usr/local/bin/
curl -LO https://releases.vsayterminal.com/vsay-agent/latest/vsay-agent-darwin-arm64.tar.gz
tar -xzf vsay-agent-darwin-arm64.tar.gz
sudo mv vsay-agent /usr/local/bin/
Invoke-WebRequest -Uri "https://releases.vsayterminal.com/vsay-agent/latest/vsay-agent-windows-amd64.zip" -OutFile "vsay-agent.zip"
Expand-Archive vsay-agent.zip -DestinationPath "C:\Program Files\vsay-agent\"
# Add C:\Program Files\vsay-agent\ to your PATH
Configure the Agent
Run the configure command with your API key and the WebXTerm backend URL:
sudo vsay-agent configure \
  --token YOUR_API_KEY \
  --host http://your-webxterm-instance.com:8080 \
  --linux-user ubuntu
| Flag | Description |
|---|---|
--token | Your API key from the Profile page |
--host | URL of your WebXTerm backend |
--linux-user | The system user that terminal sessions will run as |
--allow-sudo | (Optional) Allow sudo commands in terminal sessions |
This command will:
- Save the configuration to
/etc/vsay/agent.yaml - Install and start a systemd service (
vsay-agent.service) that auto-starts on boot
Verify the Agent is Running
systemctl status vsay-agent
Once the agent starts, it registers itself with the backend and your machine will appear in the Machines dashboard within seconds.
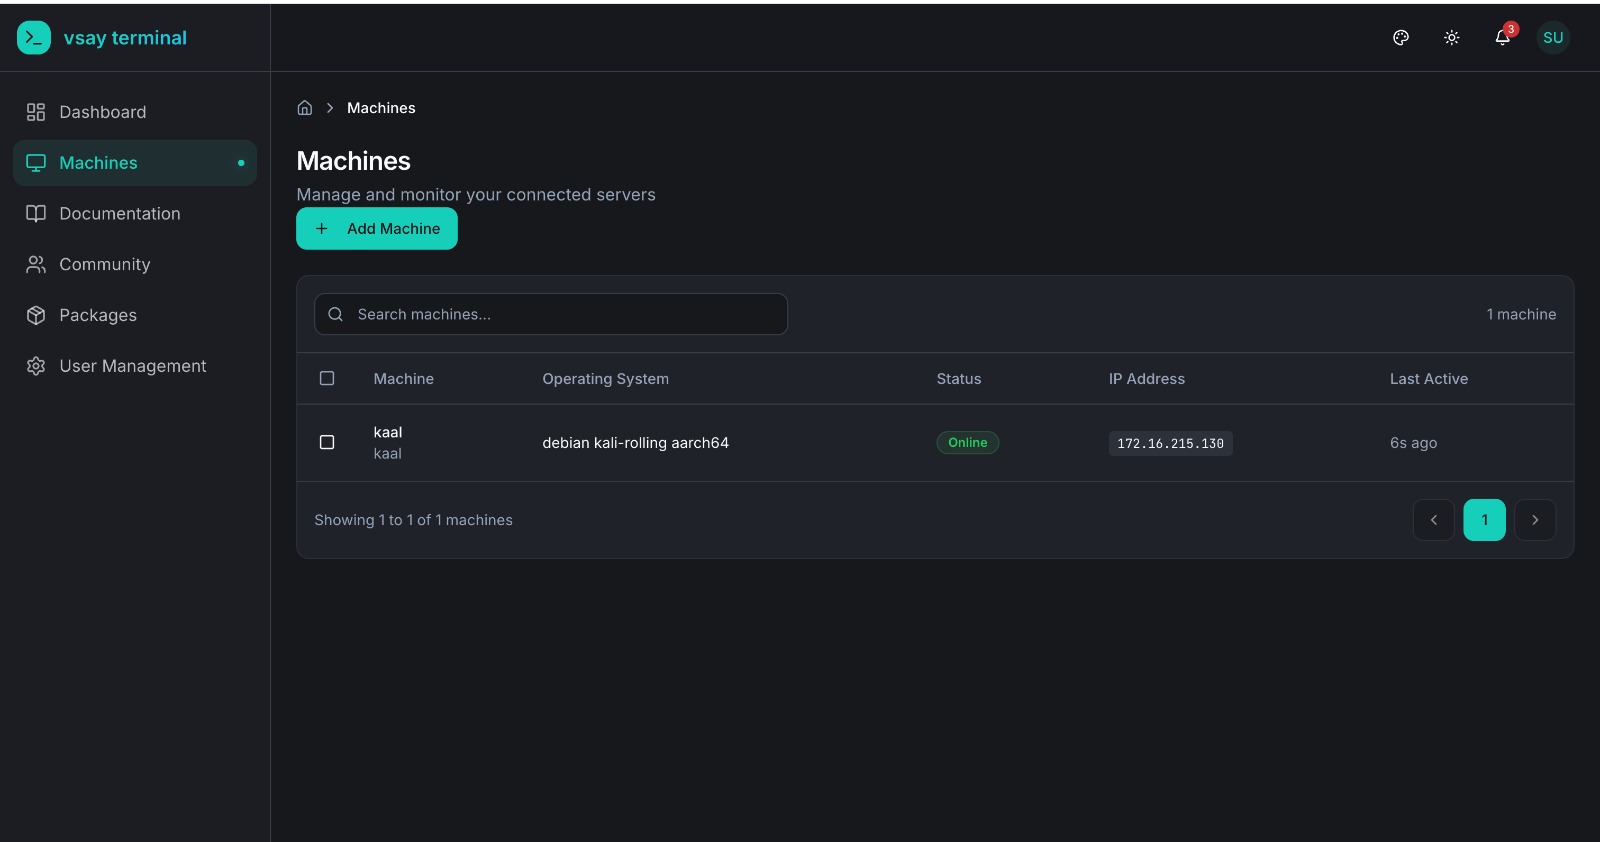
Step 4: Connect to Your Machine
Once your machine appears in the dashboard:
- Go to the Machines list
- Find your machine — it should show Online status
- Click "Connect"
- The Web Terminal opens and you're connected directly to your machine
Next Steps
Now that you're connected, explore more features:
- Team Collaboration - Add team members and assign roles, restrict machine access per user
- Real-time Monitoring - Track server health, CPU/memory/disk stats from agent heartbeats
- Audit Logs - Review command history and session activity
- Community - Use the built-in issue tracker to report and track infrastructure problems
- Set up OIDC/OAuth2 - Enable OIDC/OAuth2 login with Microsoft, GitHub, Okta, or Azure AD (Enterprise)
Community vs Enterprise
| Feature | Community | Enterprise |
|---|---|---|
| Secure Remote Access (Agent-Based) | ✅ | ✅ |
| Web Terminal | ✅ | ✅ |
| Team Collaboration (RBAC) | ✅ | ✅ |
| Real-time Monitoring | ✅ | ✅ |
| Session & Command Recording | ✅ | ✅ |
| Audit Logs | ✅ | ✅ |
| Community (Issue Tracker) | ✅ | ✅ |
| TLS Encryption | ✅ | ✅ |
| WebXTerm Shell CLI | ✅ | ✅ |
| WebXTerm VSCode Extension | ✅ | ✅ |
| API Access | ✅ | ✅ |
| mTLS (Mutual TLS) | ✅ | ✅ |
| Keycloak Authentication | ❌ | ✅ |
| OIDC/OAuth2 Login (Microsoft, GitHub, Okta, Azure AD…) | ❌ | ✅ |
| Multi-tenancy (Organizations) | ❌ | ✅ |
| Organization API | ❌ | ✅ |
| Priority Support | ❌ | ✅ |
Need OIDC/OAuth2 login, Keycloak authentication, or multi-organization support? See the Enterprise Edition.
See the full feature comparison on the How We Are Different page.